

This page gives you step-by-step instruction for you first experience with VolumeShop.

Prequisites
Before proceeding you should download the VolumeShop binaries and the demo data and extract both archives to a folder on your hard disk.Tutorial
- Run VolumeShop by starting the executeable "volumeshop.exe". You should see a window like the the one on the image below.

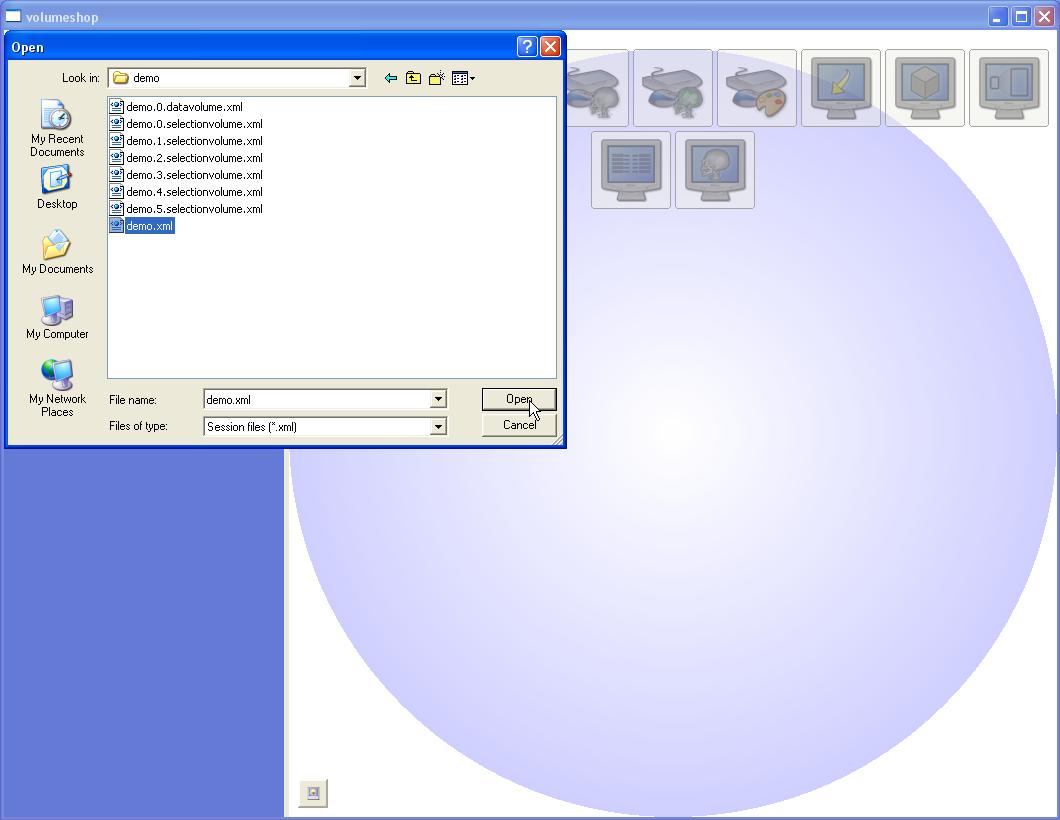
- Go to the "File" menu and select "Open" as shown in the image below.

- Point the dialog to the file "demo.xml" in the folder where you extracted it and press the "Open" button.
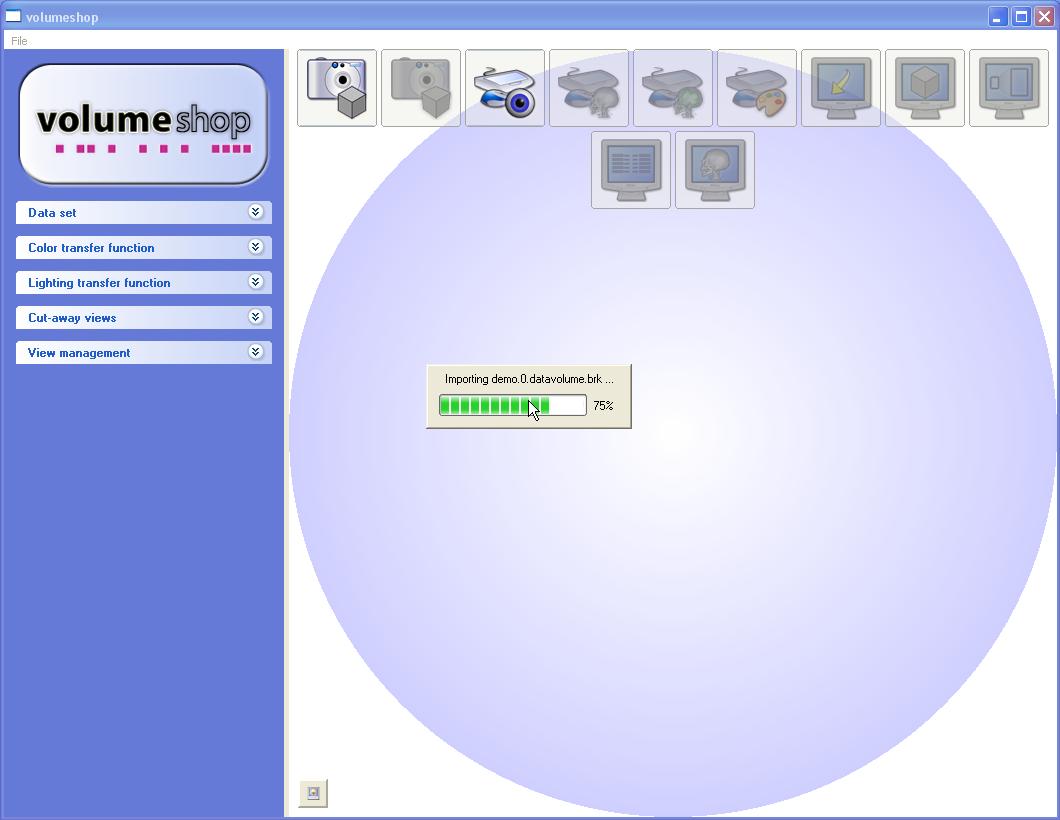
- A progress dialog will appear while the data is loading.
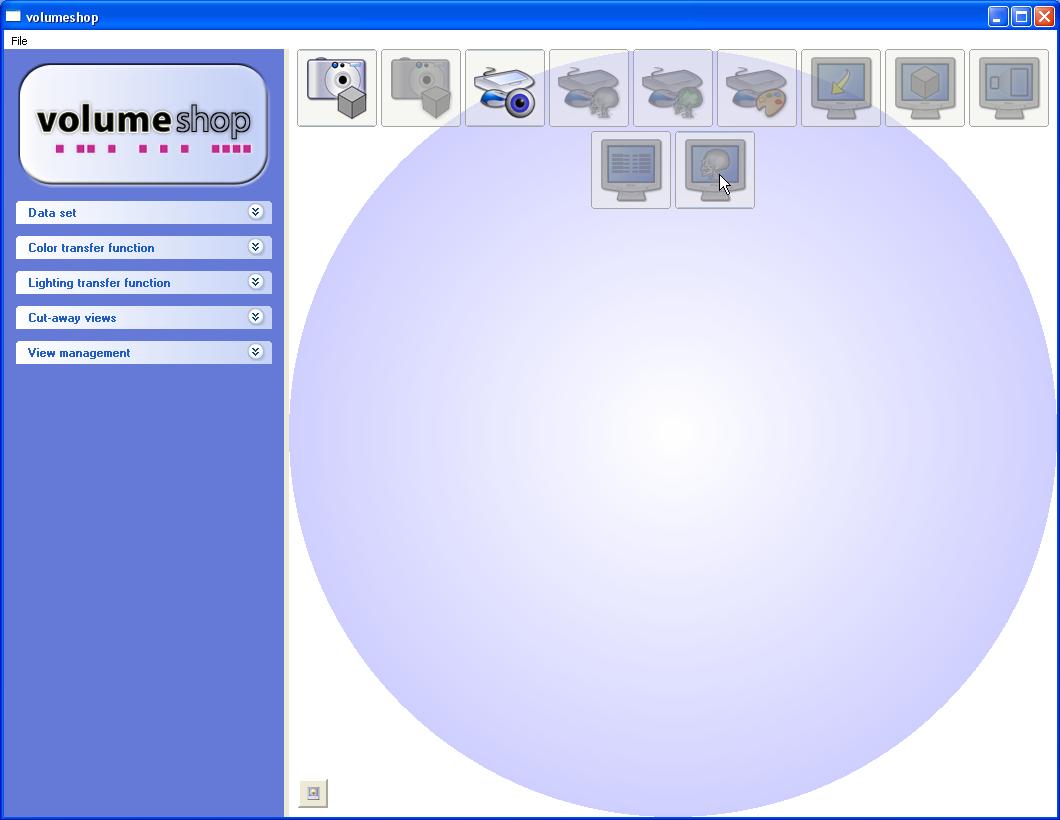
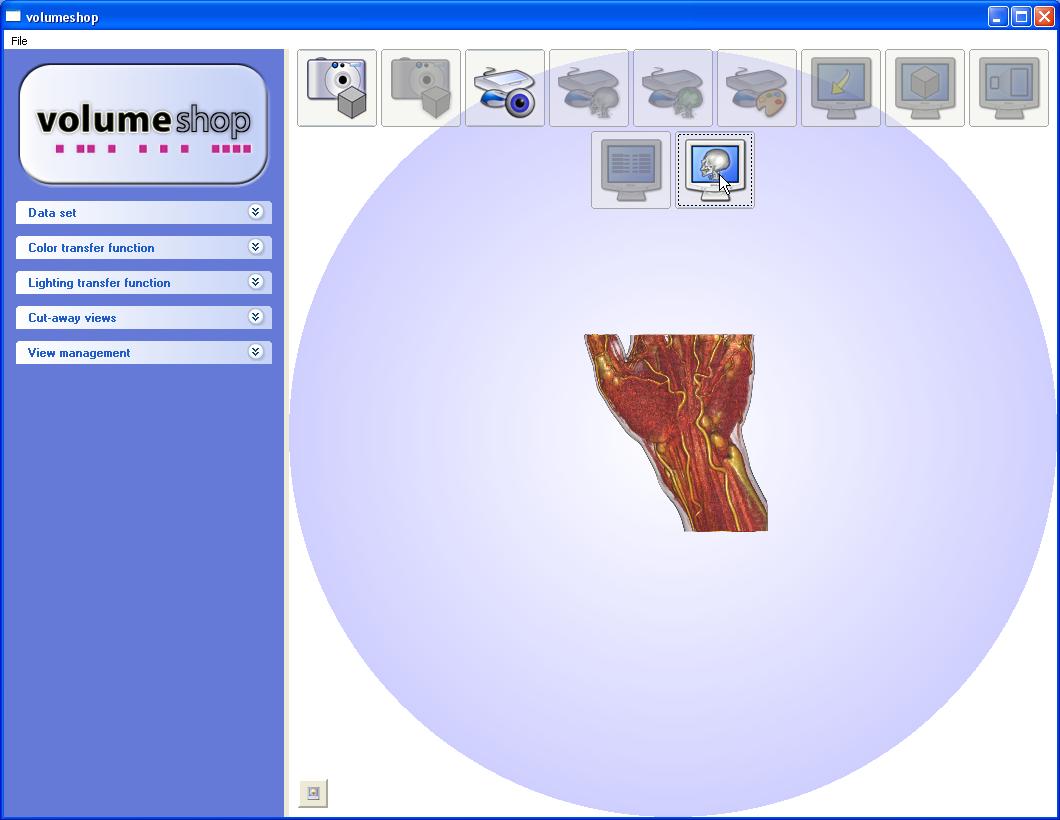
- Click on the icon shown in the image to activate the renderer plugin.
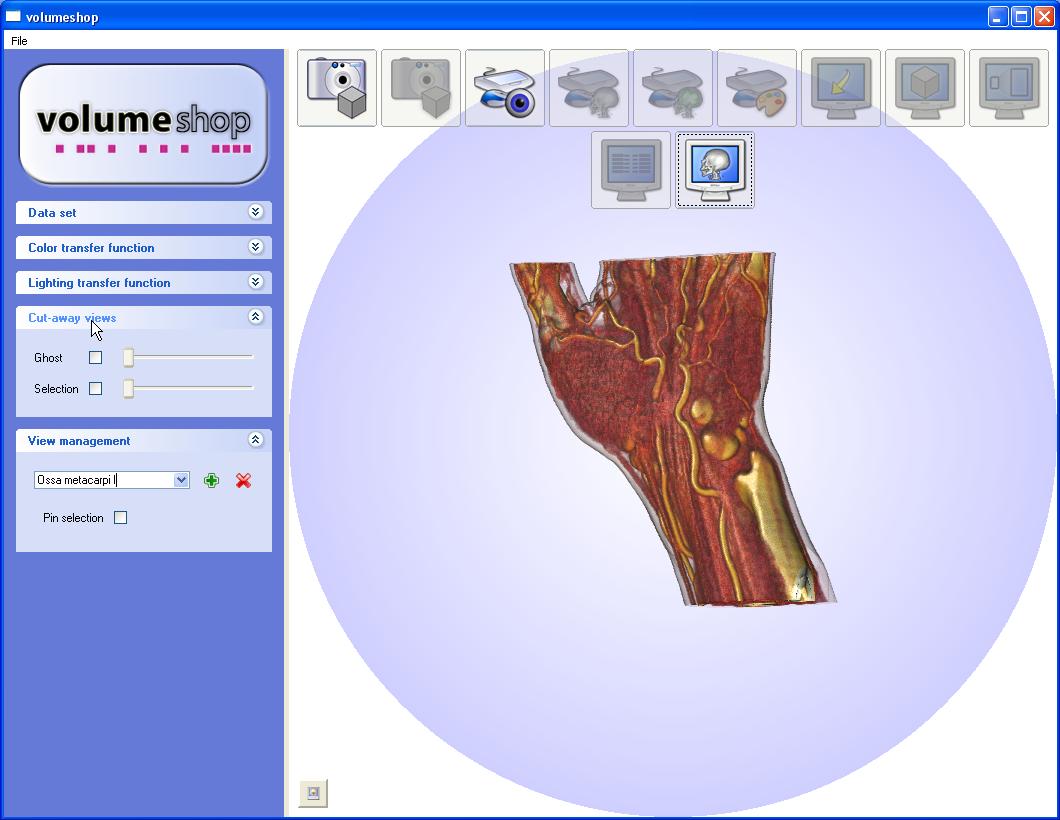
- Now you should see a volume rendering of a human hand like in the image.
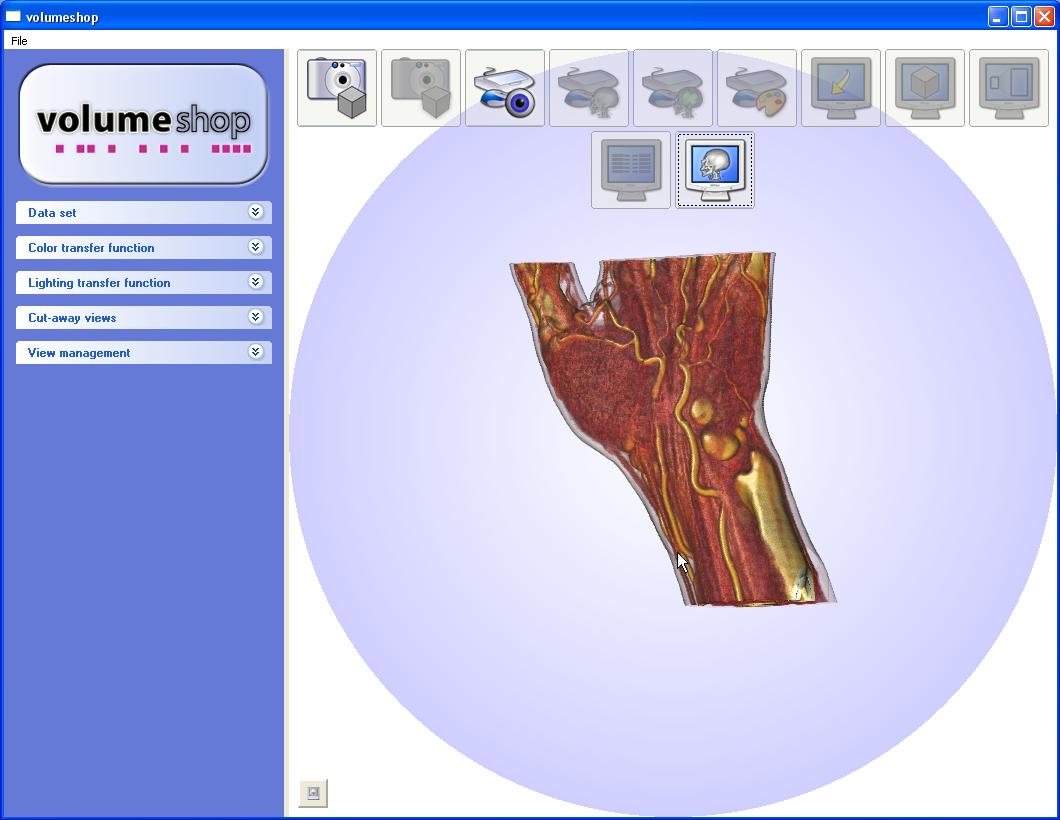
- By pressing the left mouse button and moving the mouse, you can rotate the camera. With the right mouse button you can zoom in a similar way. The middle mouse button is used for panning.
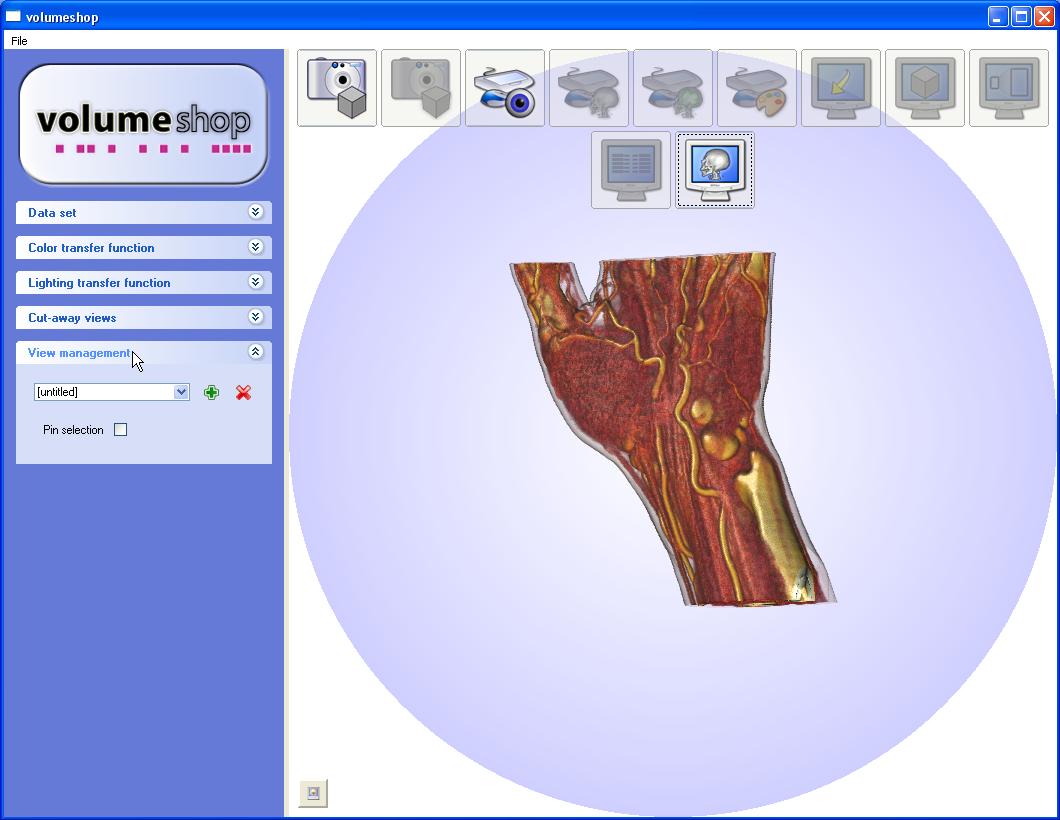
- Click on the header of "View management" section in the sidebar to open it. The combobox shows all selections defined for this data set.
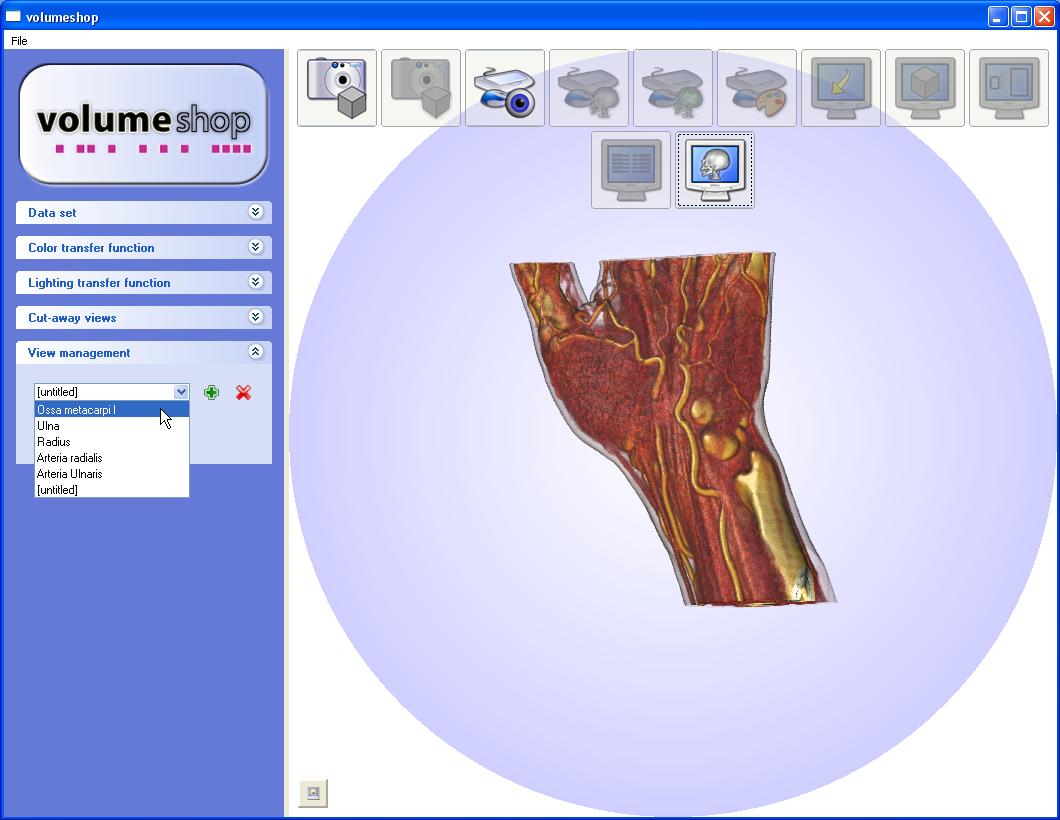
- Choose an object in the combo box.
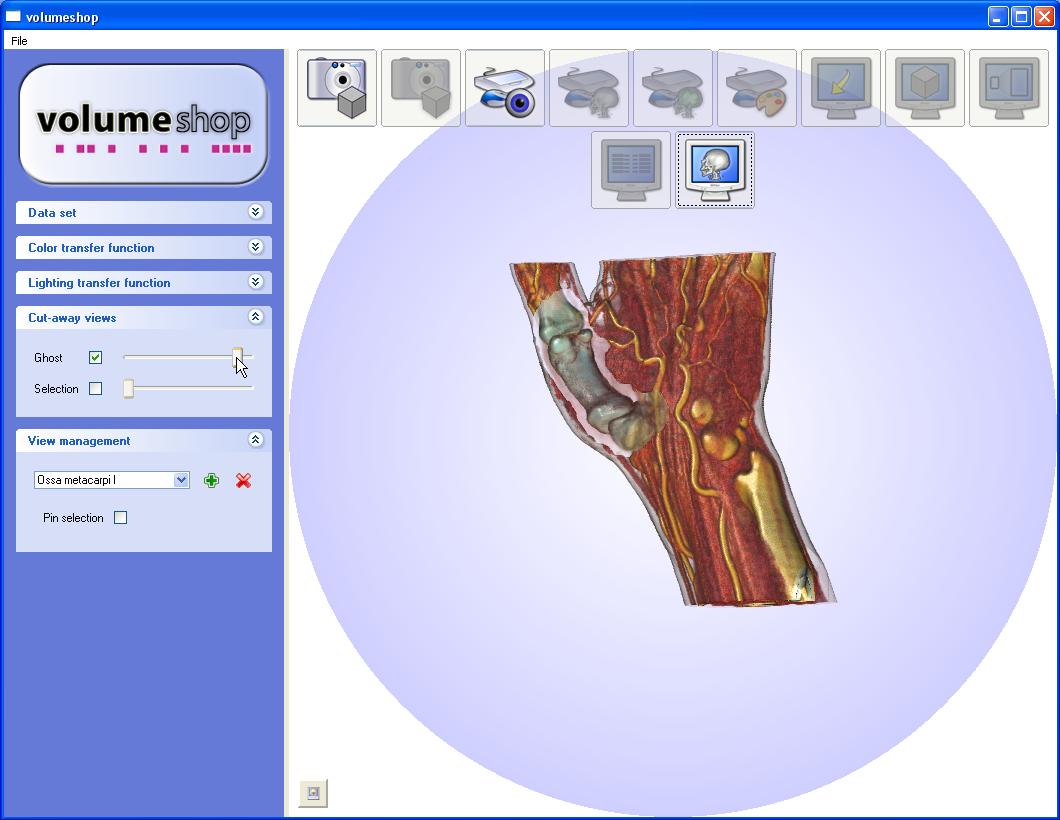
- Open the "Cut-away views" section by clicking on the header.
- Check the "Ghost" checkbox and move the slider. As you move the slider to the right, more and more of structures occluding the selection will disappear. By rotating the camera you can see that the cutaway is view-dependent.
- Open the "Lighting transfer function". Here you can choose between different rendering styles.
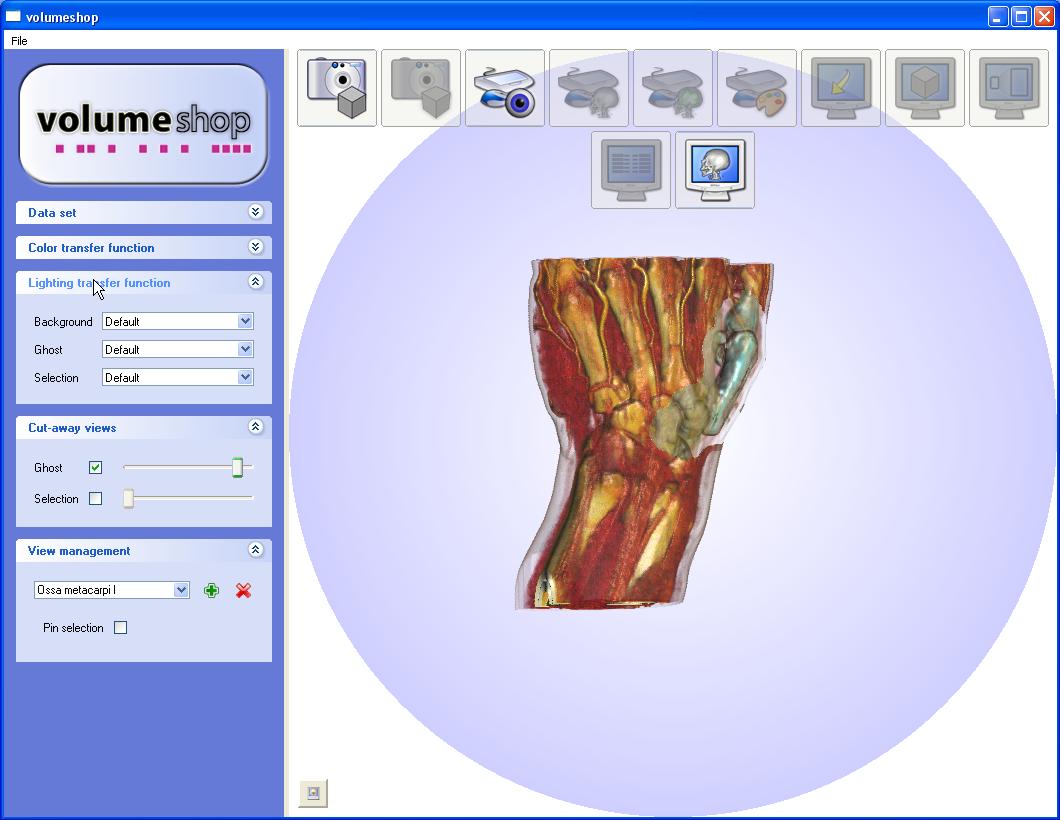
- Choose a different lighting transfer function for the background object.

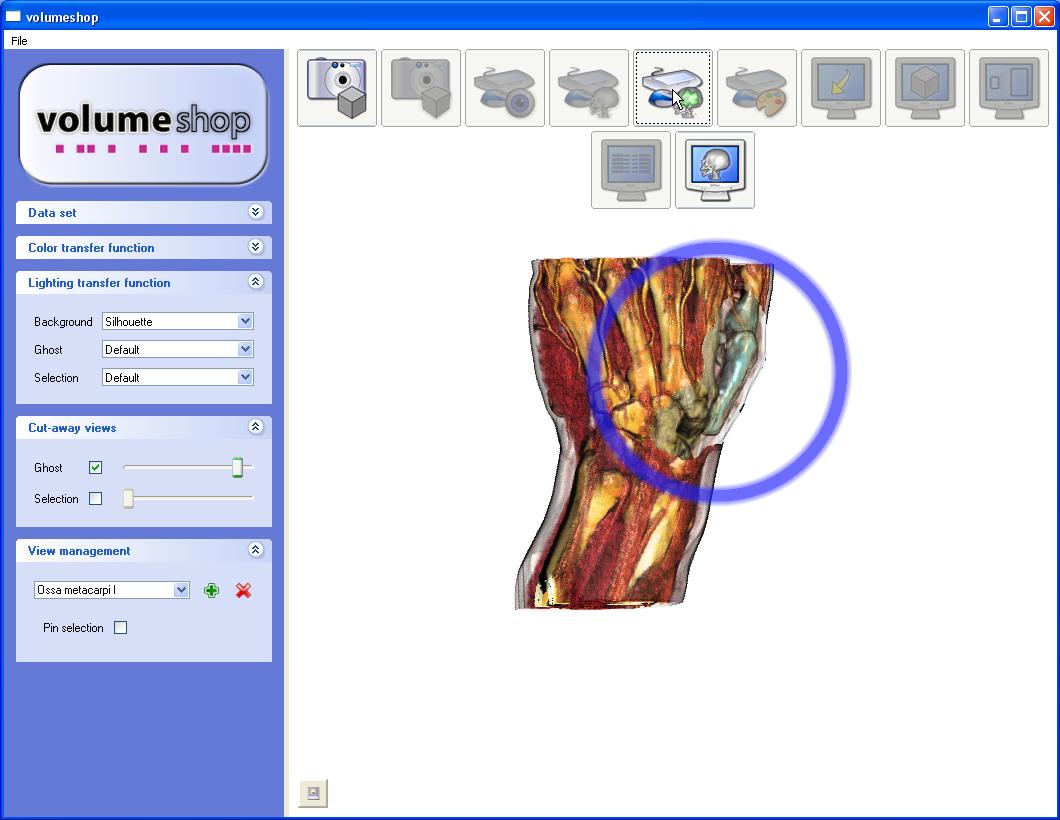
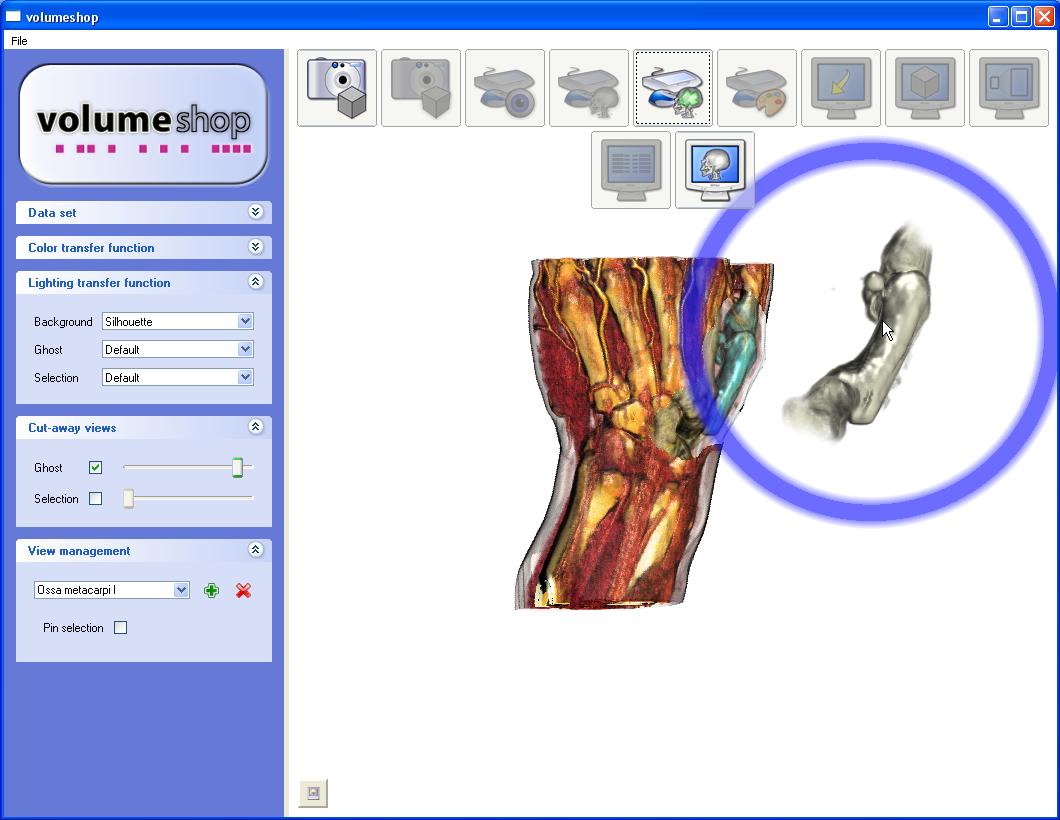
- We have choosen the "Silhouette" style, which enhances the countours of our object.

- Click on the icon shown in the image to activate the "SelectionTrackball" plugin.
- Using the same controls as for the camera, you can transform the selection.
- If you want to modify the camera again, just click on the icon with the eye, as shown in the image.

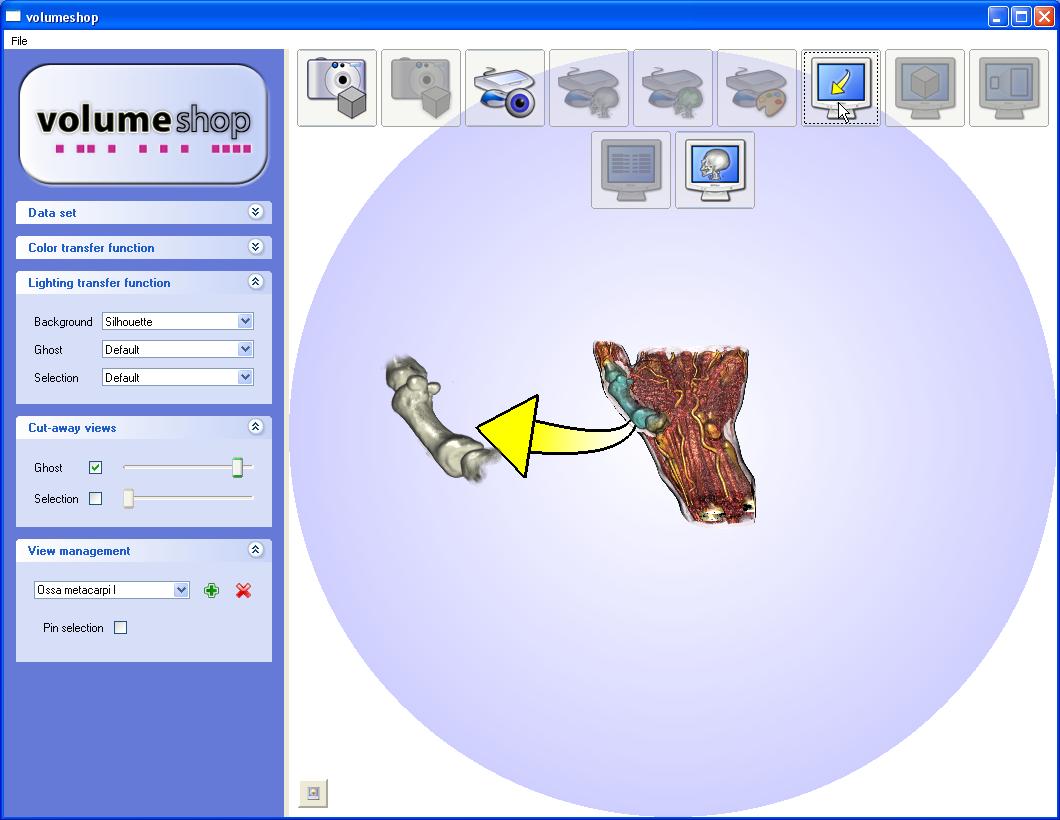
- Now you can also try to activate some of the other plugins. Pressing on the corresponding icon activates the plugin, pressing it again deactivates it. Some plugins (e.g. ones the for interaction) cannot be activated at the same time. The "Arrow" plugin draws an arrow to the current position of the selection.
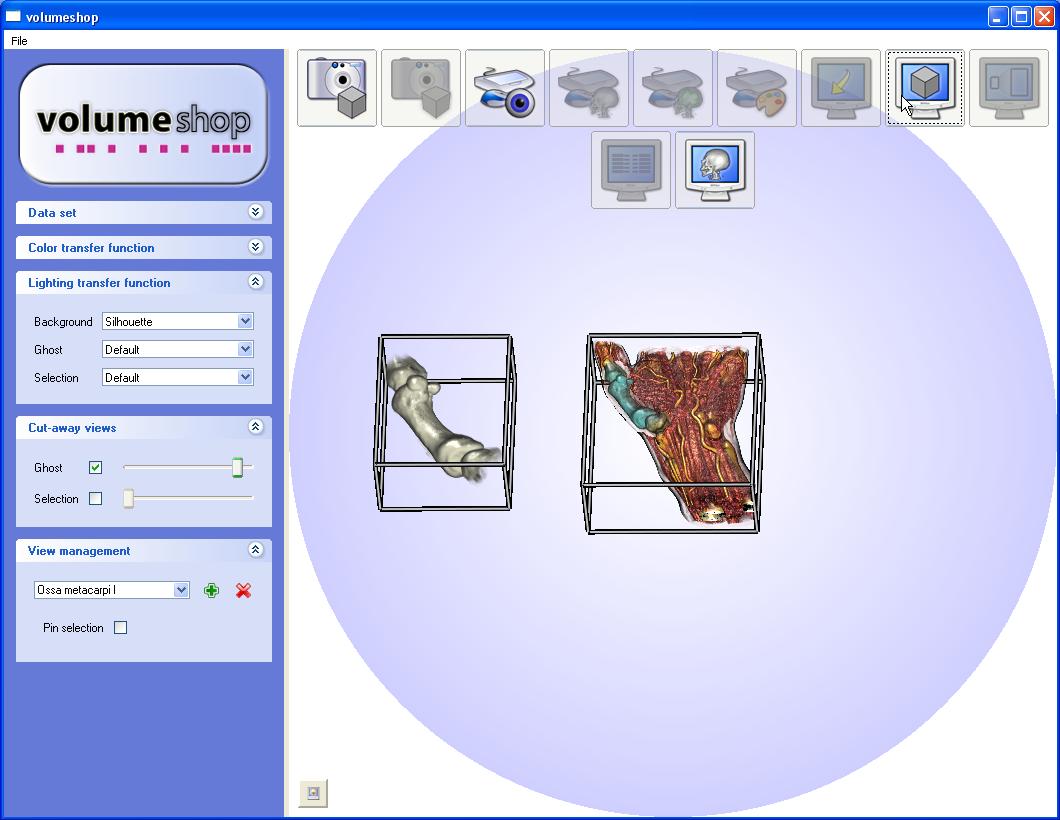
- The "Box" plugin draws bounding boxes.
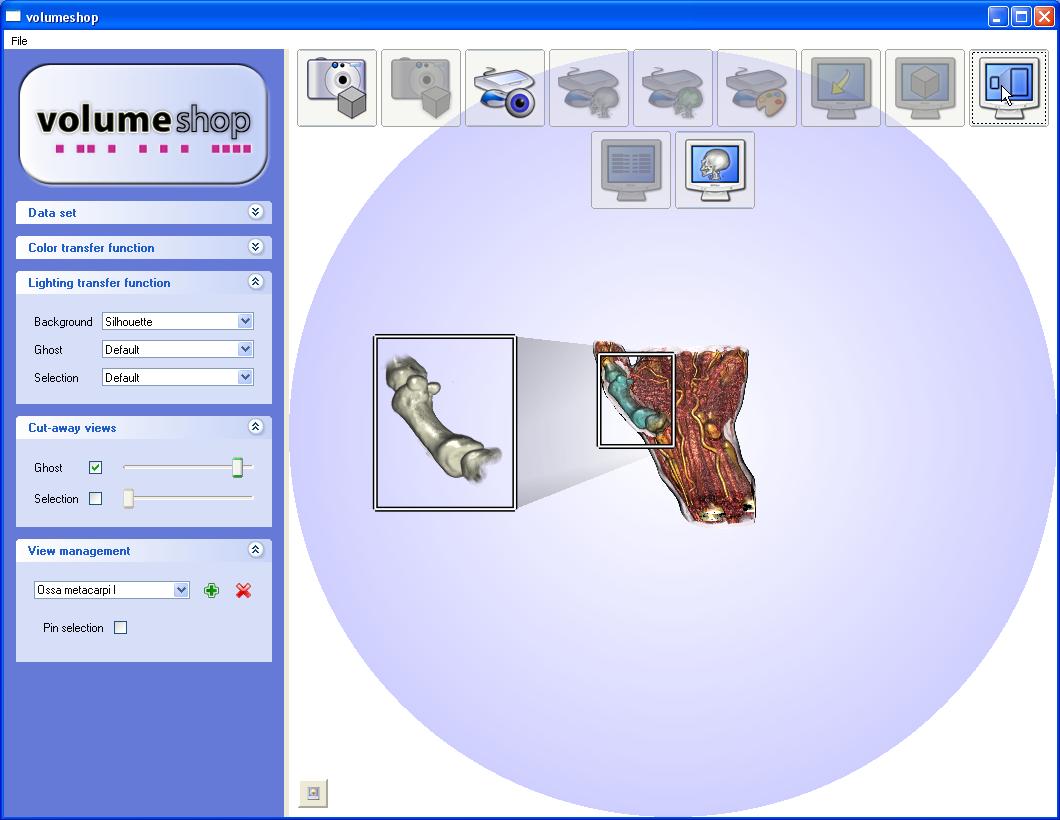
- The "Fan" plugin draws connected rectangles around selection and ghost.
- The "Label" plugin displays annotations for all defined selection objects.

- Only some of the features of VolumeShop were shown in this brief tutorial. Just play around with it a bit and you will find more things.