![]()
![]()
![]()
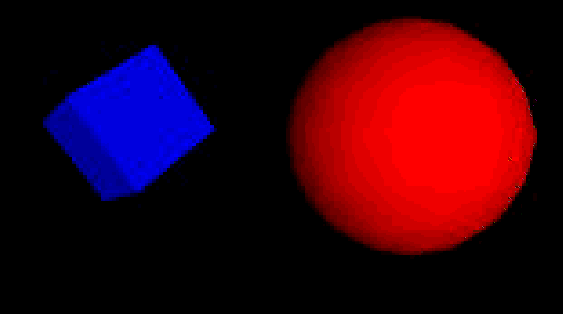
Simple Example
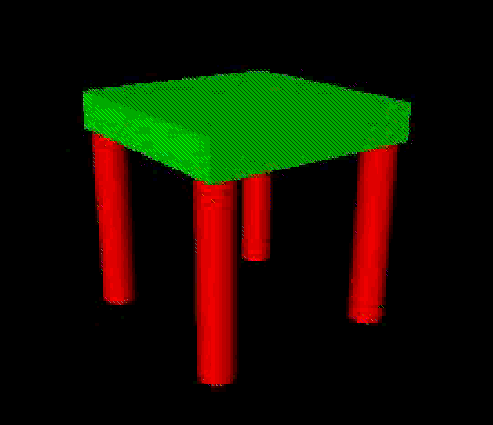
Stool
Directional Light
Point Set
Level of Detail
Color - Interpolation
Sensor
Clock with alarm
Collision Detection
#VRML V2.0 utf8 Transform { children [ NavigationInfo { headlight FALSE } DirectionalLight { direction 0 0 -1 } Transform { translation 3 0 1 children [ Shape { geometry Sphere { radius 2.3 } appearance Appearance { material Material {diffuseColor 1 0 0 }}}]}]}
For easy identification of VRML 2.0 files, every file
must begin with #VRML V2.0 utf8. The identifier utf8 allows for
international characters to be displayed in VRML using the UTF-8 encoding
of the ISO 10646 standard. The # character begins a comment. But note, that comments
and whitespaces may not be sent by the VRML-server to the user in order
to save transmission time. Information like author and copyright should
therefore be stored in the WorldInfo node. Generally speaking a VRML file can contain any combination
of the following: In this simple example we used children nodes. Grouping
nodes (Transform) are used to create hierarchical transformation
graphs. Grouping nodes have a children field that contains a list of nodes
which are the transformation descendants of the group. Each grouping node
defines a coordinate space for its children. This coordinate space is relative
to the parent node's coordinate space - that is, transformations accumulate
down the scene graph hierarchy. We set headlight FALSE because we defined our
own light source (DirectionalLight). In general, shape nodes are
illuminated by the sum of all the lights in the world that affect them.
This includes the contribution of both direct and ambient illumination
from light sources. Ambient illumination results from the scattering and
reflection of light originally emitted directly by light sources. The amount
of ambient light is associated with the individual lights in the scene. In VRML 2.0 there are three types of light sources: Directional light illuminate only the objects descended
from the light's parent grouping node (including descendants). Point and
Spot lights illuminate all objects in the world that fall within their
volume of lighting influence, regardless of location in the VRML file. All light sources contain following fields: The rest of the code should be rather clear and not too
different from VRML 1.0 Transform { children [ DEF UnlitShapeOne Shape { ... } DEF LitParent Transform { children [ DEF LitShapeOne Shape { ... } DirectionalLight { ... } DEF LitShapeTwo Shape { ... } ]} DEF UnlitShapeTwo Shape { ... }]}
As mentioned before there are three types of light-sources:
The example above shows that only two of the four defined shapes will be
lit by the directional light. You have to make sure that the objects that
should be lit by the directional light source are in within the
child-node that contains the
A simple Example
Directional Light
DirectionalLight { ... }
statement. You may specify the direction, the intensity and the RGB-color
for this light-source.
Shape {
geometry PointSet {
coord DEF myPoints Coordinate { point [ 0 0 0, 3 3 3, 6 6 6 ] }
color Color { color [ 1 0 0, 0 1 0, 0 0 1 ] }
}
}
Shape {
geometry PointSet {
coord USE myPoints
color Color { color [ 1 1 1, .5 .5 .5, 1 0 1 ] }
}
}
This simple example defines a PointSet composed of 3 Points. The first point is red (RGB values 1 0 0), the second point is green (RGB 0 1 0), and the third point is - what surprise - blue (RGB 0 0 1). The second PointSet instances the Coordinate node defined in the first PointSet, but defines different colors.
LOD {
range [ 100, 1000 ]
levels [
LOD {
levels [
Transform { ...detailreich... }
DEF LoRes Transform { ... weniger Details ... }
]}
USE LowRes,
Shape { }]}
In this example, the browser is free to chose either a detailed or a less-detailed version of the object when the viewer is closer than 100 meters, measured in the coordinate space of the LOD. The browser should however display the less-detailed version of the object if the viewer is between 100 and 1000 meters and should display nothing at all if the viewer is farther than 1000 meters. Browsers should try to honor the hints given by the programmers, and the programmers should try to give browers as much freedom as they can to choose levels of detail based on performace.
The LOD node is typically used for switching between different versions of geometry at specified distances from the viewer. But if the range field is left at its default value the browser selects the most appropriate child from the list given. It can make this selection based on performance or perceived importance of the object. Children should be listed with most detailed version first just as for the normal case. This `performace LOD' feature can be combined with the normal LOD function to give the browser a selection of children from which to choose at each distance.
DEF myColor ColorInterpolator {
key [ 0.0, 0.5, 1.0 ]
keyValue [ 1 0 0, 0 1 0, 0 0 1] # r g b
}
DEF myClock TimeSensor {
cycleInterval 10.0 # 10 sec. Animation
loop TRUE
}
ROUTE myClock.fraction_changed TO myColor.set_fraction
The connection between the node generating the event and the node receiving the event is called a route. A node that produces events of given type can be routed to a node that receives events of the same type using the following syntax:
ROUTE NodeName.eventOutName_changed TO Nodename.set_eventInName
The Prefix set_ and the suffix _changed are recommended conventions, no strict rules. Thus, when creating prototypes or scripts, the names of the eventIns and the eventOuts may be any legal identifier name.
Routes are not nodes. ROUTE is merely a syntactic construct for establishing event paths betweeen nodes.
Interpolator nodes are designed for linear keyframe animation. That is, an interpolator node defines a piecewise linear function on an interval. The piecewise linear function is defined by n values of t called key and the n corresponding values of the function, called keyValue. The keys must be monotonic non-decreasing and are not restricted to any interval. An interpolator node evaluates the function given any value of t via the set_fraction eventIn.
DEF XForm Transformation { children [
Shape { geometry Box {} }
DEF Clicker Touch Sensor {}
# one cycle: 2 sec
DEF TimeSource TimeSensor { cycleInterval 2.0 }
# one full rotation around y-axis
DEF Animation OrientationInterpolator {
key [ 0, .33, .66, 1.0 ]
keyValue [ 0 1 0 0, 0 1 0 2.1, 0 1 0 4.2, 0 1 0 0 ]}]}
ROUTE Clicker.touchTime TO TimeSource.startTime
ROUTE TimeSource.fraction_changed TO Animation.set_fraction
ROUTE Animation.value_changed TO XForm.rotation
A pointing device sensor is activated when the user points to geometry that is influemced by a specific pointing device sensor. These sensors have influence over all geometry that is descendant from the sensor's parent node.
Group { children [
DEF Hour TimeSensor {
loop TRUE
cycleIntervall 3600.0 }
Sound { source DEF Sounder AudioClip {
url "http://clocks.at/alarm.mid"}}]}
ROUTE Hour.cycleTime TO Sounder.startTime
Time sensor nodes can execute for 0 or more cycles. Be careful when setting loop to TRUE since it incurs continous overhead.
In this example we set the time between two calls of the soundfile alarm.mid to one hour. cycleIntervall interprets the specified argument as seconds between two calls. That's why we set it to 3600 seconds, i.e. one hour.
The ROUTE statement connects the timer to sounder, which causes the soundfile at the URL http://clocks.at/alarm.mid to be executed once per hour.
DEF Walls Collision { children [
Transform { ... Geometrie der W"ande ... }
Sound { source DEF Autsch AudioClip {
url "http://autsch.au/beule.wav" }}]}
ROUTE Wall.collision TO Autsch.startTime
Browsers are responsible for defining the navigation behaviour when collisions occur. For example, when the user comes sufficiently close to an object to trigger a collision, the browser may have the user bounce of the object, come to a stop, or glide along the object's surface.
By default, all objects in the scene are solid, thus collidable. Browsers detect geometric collisions between the user's avatar and the scene's geometry, and prevent the avatar from entering the geometry.
If you want a ghost-like avatar that floats through objects you may use the Collision node to turn off collision detection for its descendants; you can also specify other events that should be triggered.
In this example we trigger the execution of the sound-file beule.wav which is located at the URL http://autsch.au/beule.wav
![]()
![]()
![]()
This page was created by Helmut Doleisch and Edgar Weippl on November 26, 1996.