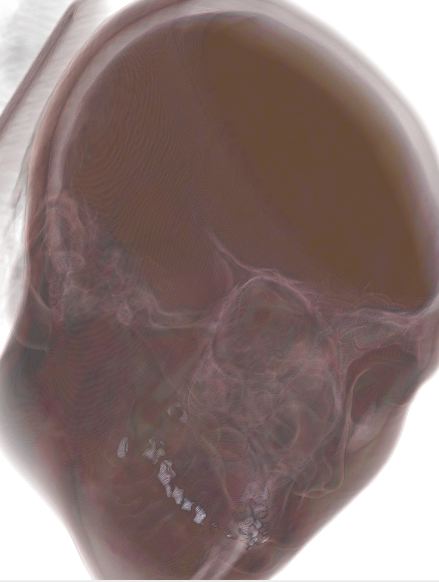

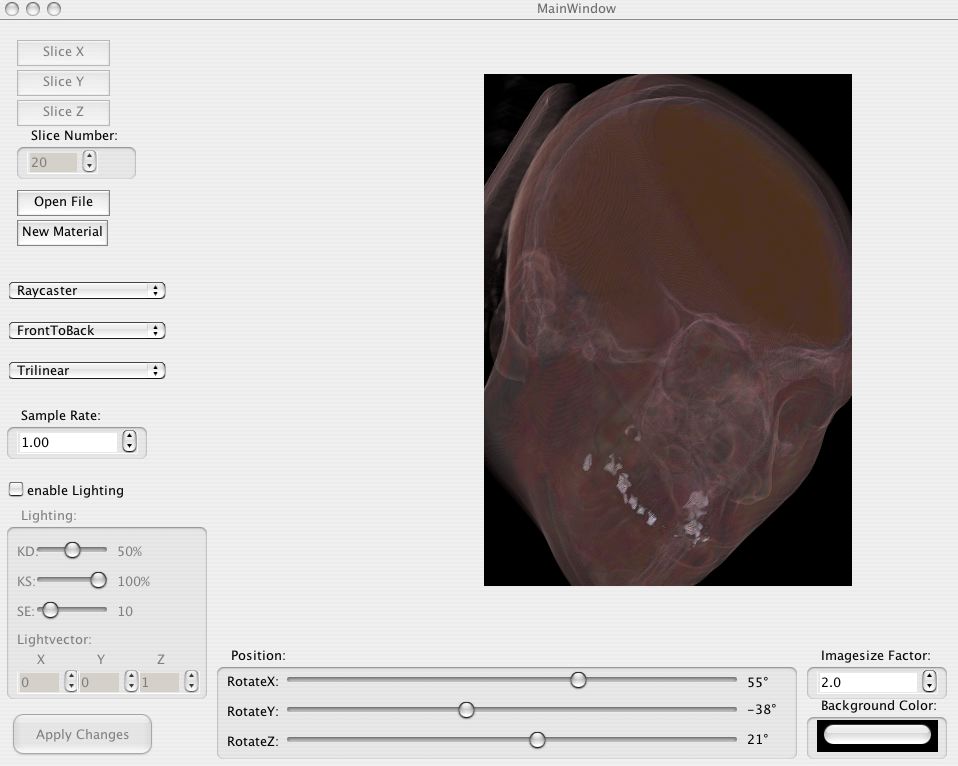
This screenshot shows the main user interface of our application. Most of its area is dedicated to the rendered image. Switching between raycasting and slicing is done by a dropdown box; switching to slicing enables the four slicing controls (see below) and disables the raycasting controls. Specifying transfer functions is, of course, also supported when slicing. See below for a more detailed discussion of the features of this user interface.
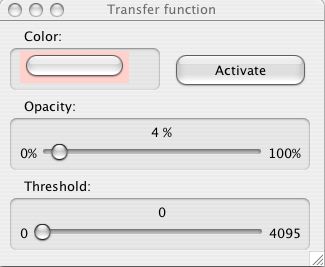
The New Material
button opens a dialog box looking like this one. It
allows specifying colors and opacities for certain density values. If no
material is specified, a grayscale image is displayed. Note that these changes,
too, are only applied once the Apply Changes
button is pressed in the
main window.
Removing a transfer function works by closing the associated window.
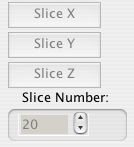
This screenshot shows the slicer interface. The three buttons allow choosing between the main axes, while the spinbutton allows selecting the slice number. You can also use the mousewheel in this spinbutton to scroll through the slices. For coloring, transfer functions can be specified for slicing as well, just like for raycasting.
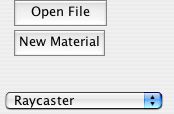
Here, you can open a new data file in the application, as well as specifying transfer functions (which open the aforementioned windows) and switching between raycasting and slicing.
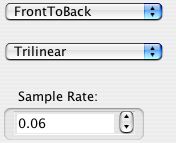
This allows changing the main raycaster settings. Choosing between Back-To-Front and Front-To-Back does not have a (noticable) effect on the final image, but it does affect performance a lot. Nearest-Neighbour vs Trilinear interpolation does have an effect on the image - trilinear provides much better images at the cost of slower performance. The sample rate affects performance and image quality as well; it controls how often along the ray a sample is taken.

These controls allow specifying the parameters for Phong lighting. kd, ks and the specular exponent SE can be configured. Of course, the light position can also be selected.

The rotation controls allow specifying from where the object is looked at. They rotate the viewing plane around the point in the center of the data. Rotations in all three directions are supported.
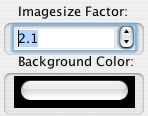
Allows specifying the image size and the background color. The image size is a factor of the intrinsic size of the data.

The Apply Changes
button has to be pressed after each change. This
allows changing various parameters, without being intercepted by the CPU-heavy
rendering, which can (depending on the parameters) take a comparatively long
time.