![]()
| Bruckner und Seemann | Part 1 - Part 2 |
![]()
| Besides producing good looking pictures volume rendering widens its field of application by improving performance. Fast transformations enable users to observe volumes from different perspectives. In computer aided surgery (CAS) volume rendering is used to visualize geometric relations between tools and organs. CAS gives birth to several minimal invasive surgical interventions. Short reaction times needed may be achieved through fast volume rendering. | 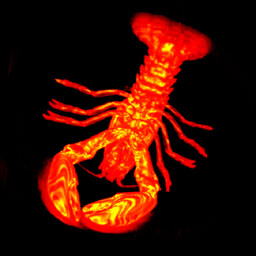 |
 |
Although today's graphic boards speed up rendering algorithms, sophisticated algorithms are needed, if volume rendering has to be really fast. To circumvent expensive hardware accelerated boards the shear warp algorithm may be the right alternative as the fastest software renderer. The possibility transport some of its calculations to the graphics board via OpenGL, makes it even faster. The next section summarizes the algorithm. For a detailed description see Philippe Lacroute's and Marc Levoy's "Fast Volume Rendering Using a Shear-Warp Factorization of the Viewing Transformation". |
![]()
| When using the most basic Image Order algorithm, the data access is not linear: Since the sampled slices should be parallel to the viewing plane, the sampled voxels are an actual plane in the volume only for straight viewing directions. Commonly, they are not continuous in the data-set. | 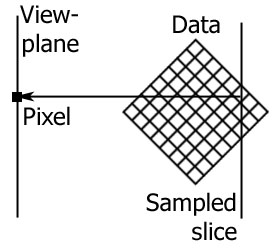 |
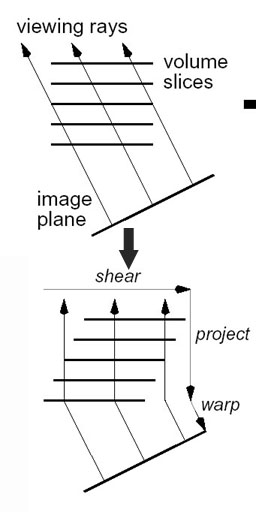 |
When we are using parallel projection, a simple shear
transformation may be used to transform the sampled slices into actual
planes in the volume data, making the sampling linear and much more
efficient for arbitrary viewing direction. Using the appropriate shear transform, an efficient
volume rendering algorithm may be used: |
Intermediate sheared image
|
Final warped image
|
![]()
The following features are implemented:
|
![]()
 |
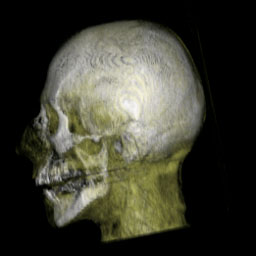
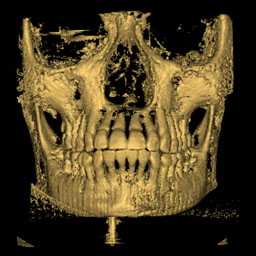
dataset: skull
CT scan dimensions: 184x256x170 alpha compositing |
||
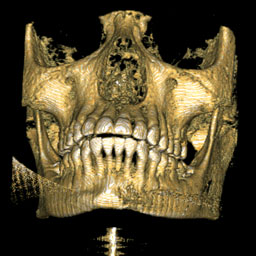
| dataset: skull CT scan dimensions: 256x256x256 alpha compositing |
 |
||
 |
 |
||
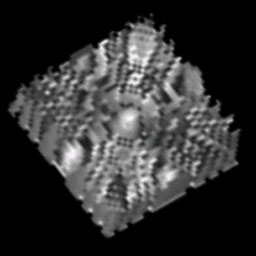
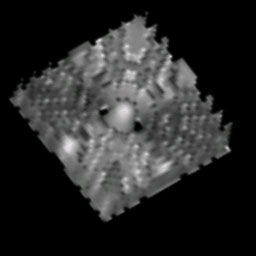
| raycaster with nearest neightbour interpolation | raycaster with linear interpolation |
||
|
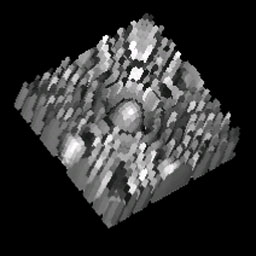
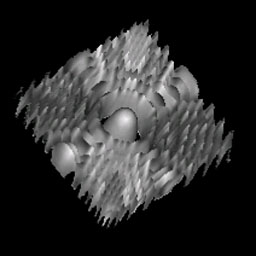
dataset: maschner lobb function dimensions: 41x41x41 isosurface 192 |
|||
| shear warp with nearest neighbour interpolation | shear warp with linear interpolation |
||
 |
 |
||
 |
 |
||
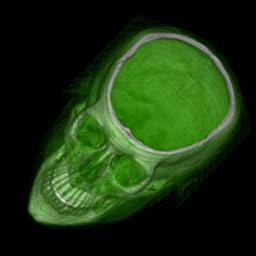
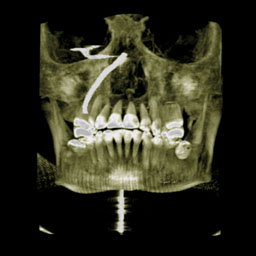
| dataset: skull CT scan dimensions: 256x256x256 left upper: isovalue at 55 right upper: mip right lower: alpha compositing |
 |
||
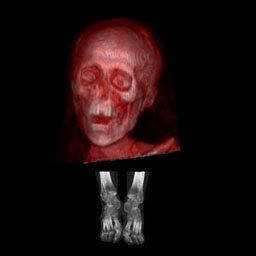 |
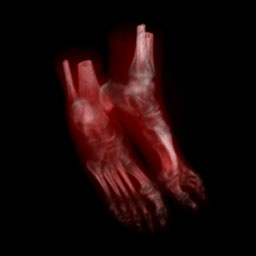
dataset: mummy CT scan dataset: feet CT scan |
||
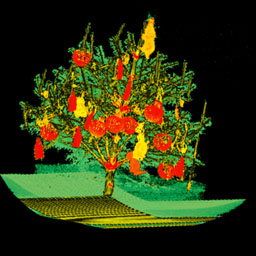
dataset: x-mas tree CT
scan description: values lower than 40 are transparent. Stem and candles are similar in its opacity whilest the decoration is more radioopaque and can be differently colored in red. |
 |
||
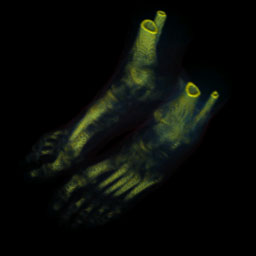 |
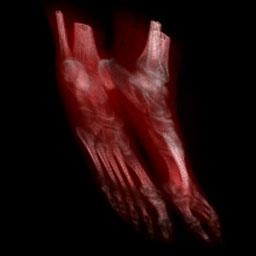
dataset: human feet CT
scan description: the transfer function segments bony structures and a smooth shadow of soft tissue |
||
![]()
| The following section is a step-by-step guideline: |
|
|
1. File -> New -> Actor |
 |
2. Now select the appropriate file by typing the file name or via file selection menu on right click |
  |
2a. Select a file via file chooser
|
 |
3. Adjust advanced properties:
|
 |
4. Adjust expert properties (lighting parameters as specified in the Phong shading model):
|
 |
5. File -> New -> Add a render viewport |
 |
6. Set the name in the property viewer |
 |
7. File -> New -> Add a slicer viewport |
 |
8. Select the viewing axis in the property viewer |
 |
9. Add the actor to the vieports via right click 10. Set the transfer functions in the editor dialogs via right click on the actor property viewer |
|
Special functions of the viewer window |
Zoom: hold right mouse button and move up and down |

